Your 9-Step Crash Course for Snapping Perfect Shots in Autumn
Mother Nature offers few scenic vistas more glorious than a hillside covered in flame-colored trees. Fiery wild sumac, glowing aspens, and rainbow maples all scream for documentation, and you just can’t help but whip out that camera. It’s a shame to spend all that time taking photos, though, only to look at them later and feel disappointed in what you see. Whether you shoot on iPhone or a vintage Nikon, here’s your handy guide to ensuring your pictures look as lovely as the scenes they capture.
1. Choose Your Location Well

Smoky Mountains National Park, Tennessee, USA autumn landscape at Newfound Gap.
Now, it’s true that the United States abounds in places that burst into colorful life in the fall. However, some places are better than others.
If you’re basing your trip around fall photos, consider the following locations:
Great Smoky Mountains
One of the most stunning places in the world come autumn, the Smokies is awash in colorful deciduous trees from mid-September to the beginning of November. In the valleys and from the peaks, you’ll have plenty of opportunities for beautiful photographs.
Acadia National Park
This classic Maine destination boasts some of the best fall colors in the nation. Peak photo time is the first couple weeks of October, but you’ll get good shots all month as well as the last week of September and the first of November.
Ozark National Forest
While most people associate blazing fall hues with the northerly reaches, Arkansas has some jaw-dropping beauty on offer. Ozark National Forest is a great location, with the end of October and the beginning of November providing the best shots.
Other fall features you might want to research include the Columbia River Gorge in Oregon, the Catskill Mountains in New York, the states of Vermont and New Hampshire, and the Enchanted Circle in New Mexico.
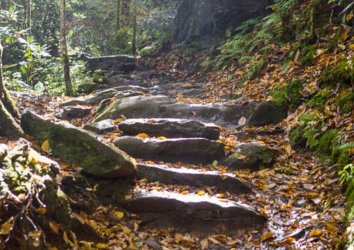
2. Use Indirect Light

Light brings out color, so it’s tempting to direct all your shots at the sunniest spots. Leaf peeping pros will tell you, however, that indirect light is where it’s at. Aim your camera at areas that are softly lit by sunbeams or diffuse ambient light, which prevent bright light from washing out parts of your shot and making others look too harsh.
3. Don’t Avoid the Rain

Photo Credit by @hikeremily on Instagram
Rain is a fact of life. The Great Smokies, for instance, usually see more than 4 inches of precipitation in September and around 3 in October, so there’s no guarantee you’ll avoid it in fall. It’s natural to feel disappointed when you wake up to gloom, but there’s no need!
No matter where you’re going on your trip – even for a day hike – rain and overcast skies can actually improve your shots. Pose subjects in light drizzle for a softening effect, catch glimmering raindrops on brightly colored leaves, and point your camera at mist-covered hillsides for unforgettable shots.
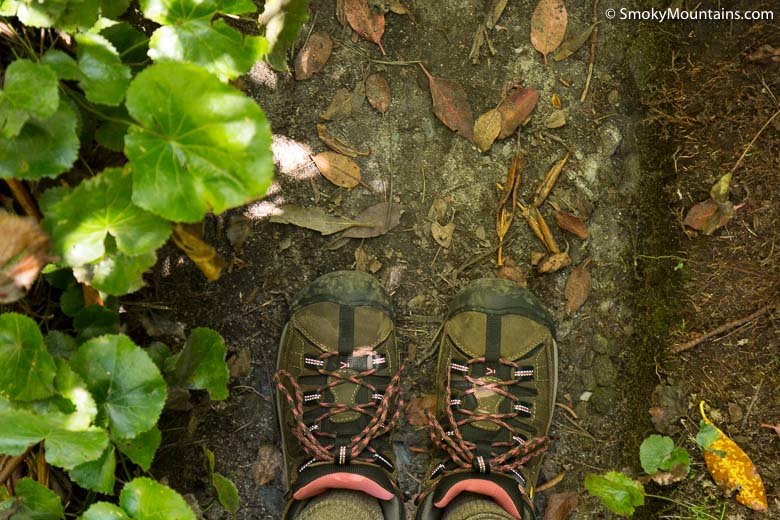
4. Narrow the Shot

Photo Credit by @rjgdigitalarts on Instagram
Our visual image of fall color usually includes sweeping hillsides covered with red, orange, and yellow treetops. While that is certainly stunning if you get the right picture, there’s much to love closer up as well. Try capturing images of a single or a few leaves against a blurred background. Look for little critters against the bright colors. Or pose a single fiery maple seedling against the fall underbrush.
5. Remember the Rule of Thirds

The best-known composition maxim out there is the rule of thirds. It says, briefly, that you should divide your frame into a 3×3 grid with two vertical and two horizontal lines, then position your subject in the left or right third of the frame – or the top or bottom third.
For example, let’s say you’re looking out from Newfound Gap in the Smokies. One way to use the rule of thirds is to make sure the sunset skyline falls along the top horizontal line. Another would be to pan around until you have a dramatic peak you want to frame, then place that along the left or right vertical line. This will draw the eye to the part of the photograph you’re trying to highlight.
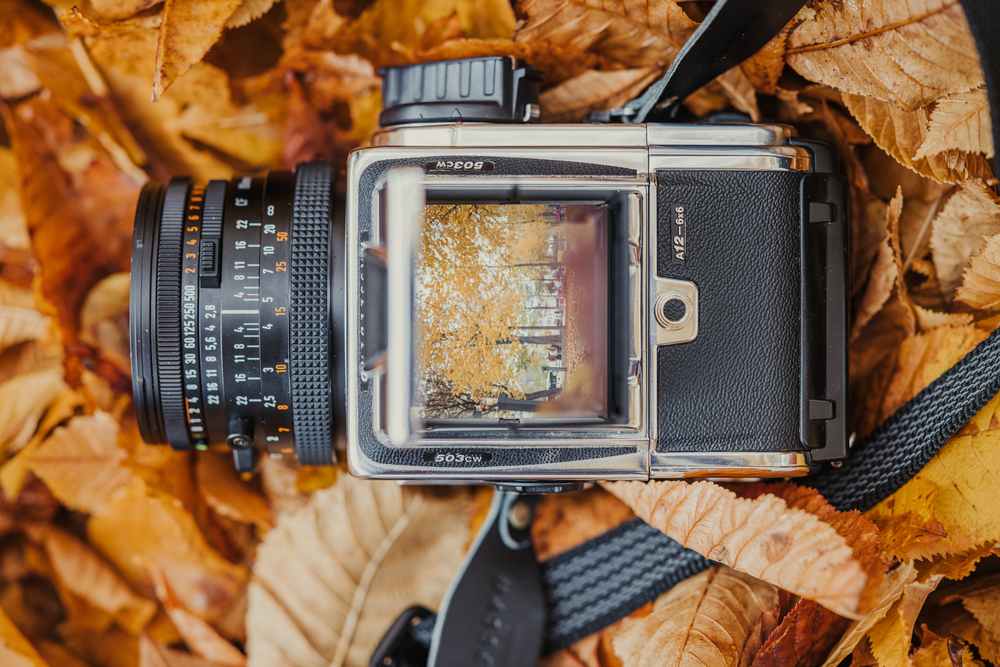
6. Portrait Mode Is Everything

Let’s not lie; chances are great you’re shooting on a phone. While diehard film photographers will claim otherwise, today’s phones offer nearly the same quality of the image – especially when you add in amazing tools like portrait mode, which create the depth of field that makes portraits so lovely. While designed to star people, portrait mode is also amazing for leaves, branches, old stumps, mushrooms, and any other fall find!
Of course, those using a “real” camera can create the same depth-of-field effect using the traditional approach of using a low f-stop.
7. Place Your Subjects in the Shade

Trying to capture people in your shot? Make sure to put them in the shade, neither facing bright sun nor against it. The first will wash out their faces, while the latter will turn them into silhouettes.
Instead, group your subjects under a stand of colorful trees for the best effect, then step into the shade yourself. If you have a phone, adjust the brightness by placing the target box over the people on the screen until the brightness adjusts automatically. You can use the phone’s controls to make additional manual adjustments if you want to turn the ambient light up or down before you take the photo.
On a traditional camera, turn on the flash to bring your subjects into sharp relief. Believe it or not, it will balance the colors rather than wash out their faces. If you’re a hardcore photographer, you can use the Sunny f16 rule instead – on sunny days with the aperture set at f16, your ISO and shutter speed are inverses of one another.
8. Golden Hour Works for Trees Too!

Using the low light of early morning or the time just before sunset lends a vibrant yet soft vibe to every photo. Again, golden hour is traditionally a go-to for portrait photographers, but it works for fall leaves as well. Whether you’re illuminating a single tree or a forest of them, the glancing shafts of sunlight and beautiful auras created by low light will take your pictures to the next level.
Make sure to check what time sunset occurs in the area you’re photographing, though. The sun goes down faster and faster as we move toward the winter solstice, and the difference of an hour can mean the difference between getting gorgeous shots and getting disappointed!
9. Make Social Media Your Pal
No, you don’t want to bring Twitter with you into the woods when you’re trying to relax. However, social media is a great resource to figure out where people are taking great photos right now. Use location tags and check appropriate hashtags like #greatsmokies for composition ideas. Instagram, Twitter, and even travel websites are all good sources of information.
Feel ready to take on the fall photography world yet? One more tip before you go: your pictures don’t have to be perfect. Take a lot of them, don’t stress the setup, and don’t spend too much time going over them until you get home. Once you do, you’ll have a treat awaiting you!